Monday, August 17, 2009

Stand-Up Paddles

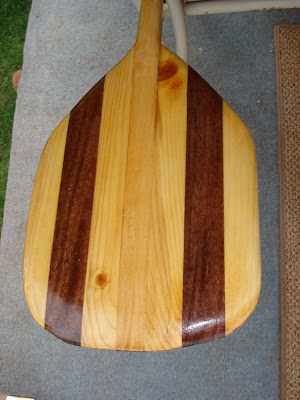
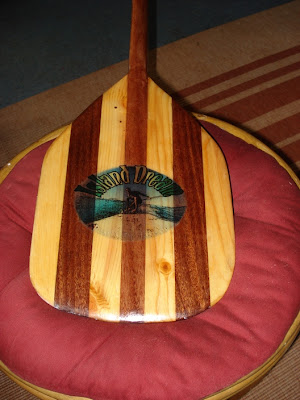
These can be made with a variety of woods. Fir, pine, maple and mahogany are all available and specialty woods can be ordered as well.

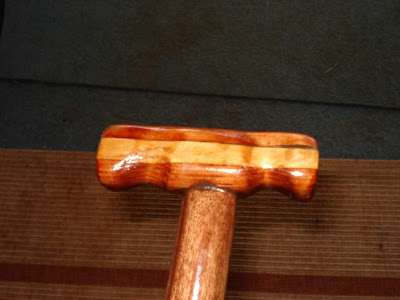
Shafts are available in any length and can be straight, bent or double-bend. The bent and double bend shafts are two or three layers of wood, and I can set the jig for most reasonable bends.

They are heavier than commercial aluminum or carbon fiber paddles. They do have a much more natural flex to them, and in my opinion feel better in the hand.

Like everything I make, each one is unique and made one at a time.


Here's a clip of this morning's SUP session with one of my paddles and a Naish 11'4. The thingy on the paddle where the shaft meets the blade is my gopro camera mount.

Sunday, August 9, 2009

An Alaia in Three Minutes

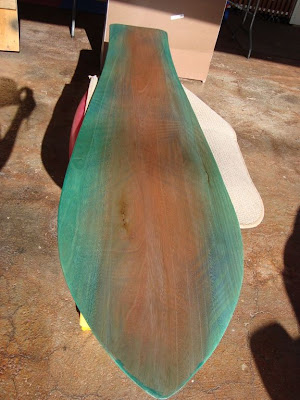
Actually it took a bit longer - about two hours or so, on two days. I got a few nice paulownia blanks from the Wegeners in California, and this is the first board from them. Paulownia is light- about half the weight of pine, with equivalent strength. It also works very nicely, with a decent grain structure that lends itself to the hand plane nicely, with the exception of some wandering grain.

It will be interesting to see how it holds up in the juice - it is much more flexible than my pine alaias, and I'm a bit worried about lengthwise splitting - but since it's wood, I can always re-join it and reinforce with stringers or glass if needed.

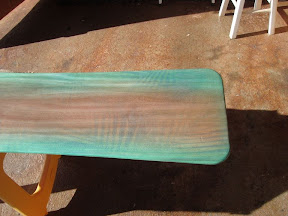
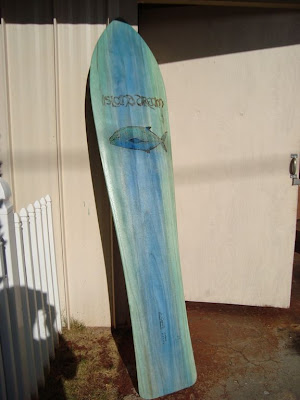
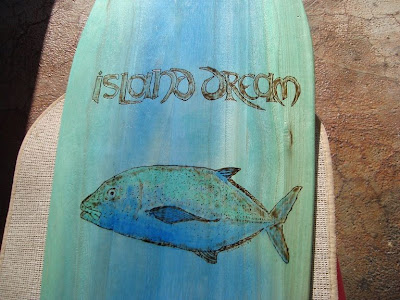
For the finish I used a simple water-based dye solution, which the wood took up nicely. It's easy to work with, has no harmful fumes or solids, with virtually no clean up. I wanted to try something colorful and I think this "omilu" design worked well.

Here's the bottom, with green dye rails, a bit of red dye down the center, and very subtly masked leaves with blue dye underneath it all:


Here's the top, blue down the center, green rails and the omilu below the logo:


The art:


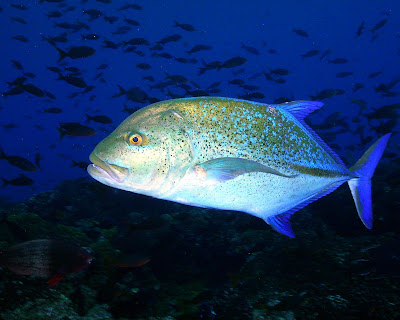
And the original:

Wednesday, August 5, 2009

Rails

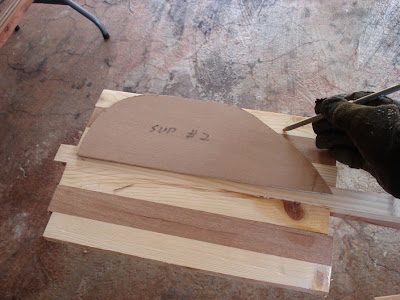
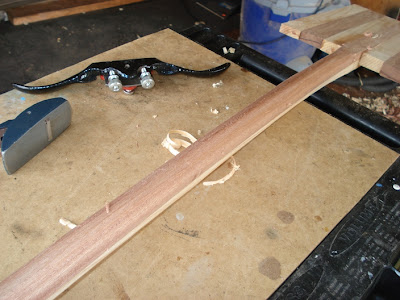
I use the strip-planking method for my rails. It creates a strong, lightweight rail that has a nice look to it. The disadvantage is that the rail shape must be designed into the transverse frames, and thus the rail shape is essentially engineered vice shaped. I use a chine where the bottom skin meets the frame, so I can do a little more shaping right at the bottom of the rail.

Here's an example of how it looks during the build. In the past I've used epoxy or Titebond-3, and both methods are time consuming. It takes a minimum of 3-5 hours for each strip to set until it's strong enough to place the next strip. I'm going to try the new Titebond CA next time and rail an entire board in an afternoon.

From Rotorhead's Waterblog

Here, on a kid's board with a plain ply bottom, I'm dry-fitting the chine with clothespins. In this case I had to use another chine log - note the gaps between the chine and the frames:
From Rotorhead's Waterblog


On this, a 7'1" stinger, I used the strip-planking from the nose to the sting, then a single piece of fir for the relatively vertical rail aft to the tail:
From Island Dreams Surf Designs pics


For pointy boards, it's critical to get the nose just right (unless a nose block is used, but those just don't look right on pointy boards).
From Rotorhead's Waterblog


Once finished, the last few rails are sanded nearly flush with the deck and then the deck is placed. Once the board is finished and glassed, it really looks nice. Here is another stinger, with mahogany strip rails, a little hardwood piece right at the transition, and a solid cedar rail going back to the tail:

From Rotorhead's Waterblog


There are many lessons learned here:
- The chine log is essential - it sets up the entire outline.
- If the chine extends beyond the frame edge, the rail strips will have a gap between themselves and the frame, which is problematic. Again, a properl fitted chine is the key.
- The rail strips I use are all just square-edged. I sand a bevel into each strip individually prior to glue-up to ensure it fights tight with the adjacent strip. It sounds like a lot of work, but with practice it only takes a few minutes. The last few boards I made had virtually no gaps in them, which simplifies the finishing process.
Tuesday, August 4, 2009

7'4" Stinger

The dimensions for this board came from the Clark Foam 7'5"R close-tolerance blank, with my own modifications engineered into the transverse members (narrower tail aft of the sting). Frames are every 8" with an additional frame at the sting point. The deck is bookmatched redwood with a central mahogany strip. The rails are strip-planked mahogany about 3/8" tall and 3/16" wide.
From Island Dreams Surf Designs pics

From Island Dreams Surf Designs pics
The bottom is redwood with fir and mahogany strips between the planks. The board was glassed with a layer of 6 oz cloth set in epoxy.
From Rotorhead's Waterblog

From Island Dreams Surf Designs pics

From Rotorhead's Waterblog

Welcome to Island Dreams

I have been making wooden surfboards for several years now, both solid 'alaia style and modern boards made using an internal skeleton covered in timber. They are both beautiful and functional, and designed to be ridden in Hawaiian juice.

I have also built outrigger sailing canoes out of wood, as well as many specialty gifts for military occasions (Hail and Farewells, Changes of Command, etc.). Take a look around and contact me via my e-mail (on the sidebar) if you are interested.

Aloha,
Charlie